
오래 지속되는 컬 (힌트 : 주석 호일 포함)에 필요한 1 가지 트릭
컬링 아이언 없음, 문제 없음!
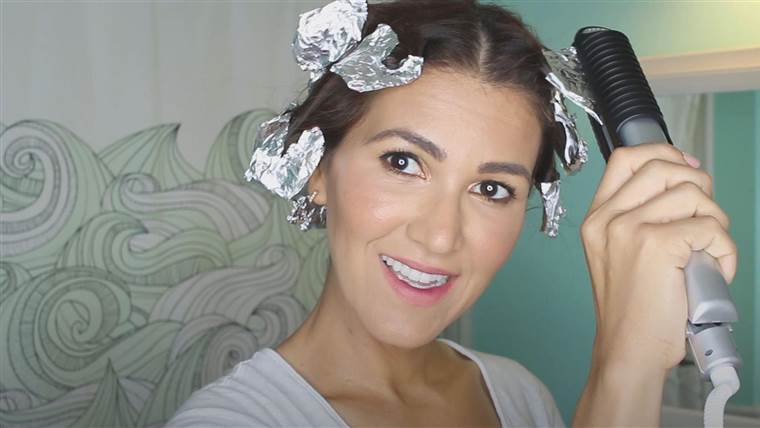
이 오래된 학교의 할머니 영감 머리 컬링 기술은 알루미늄 호일과 플랫 아이언을 사용합니다. 실제로 작동합니다. …보다 나은 컬링 지팡이보다.
“이 방법은 머리카락이 잘 잡히지 않는 것이 좋다.”라고 Arrojo NYC의 창업자 인 Nick Arrojo는 말했습니다. “호일이 더위를 더 잘 유지하기 때문에 더 응축되고 부력이 있고 강하게 말릴 수 있습니다.”
머리카락에 열이 오래 남아있어 호일로 인해 더 오래 머물러 있습니다. 머리가 천천히 머리카락을 꼬집어 머리카락을 길게합니다..
그 곱슬 곱슬하고 싶습니까? 호일 시도!
2011 년 8 월 30 일01:31
Arrojo는 머리카락을 실제로 보지 않고 다림질하기 때문에 머리카락에 원치 않는 요철이나 끊김이있을 수 있음을 명심하십시오. 끝에서 손가락을 사용하여 일부를 다시 감아 야 할 수도 있습니다..
필요한 것 :
- 알루미늄 호일
- 다리미
할 일 :
1. 깨끗하고 마른 모발로 시작하십시오. 습기 찬 머리카락이나 젖은 머리카락을 시도하지 마십시오..
2. 5 인치 사각형으로 호일을 찢어냅니다. 너무 정확할 필요가 없다.!
3. 손가락에 머리카락을 감아 핀 컬을 만들기 시작하십시오..
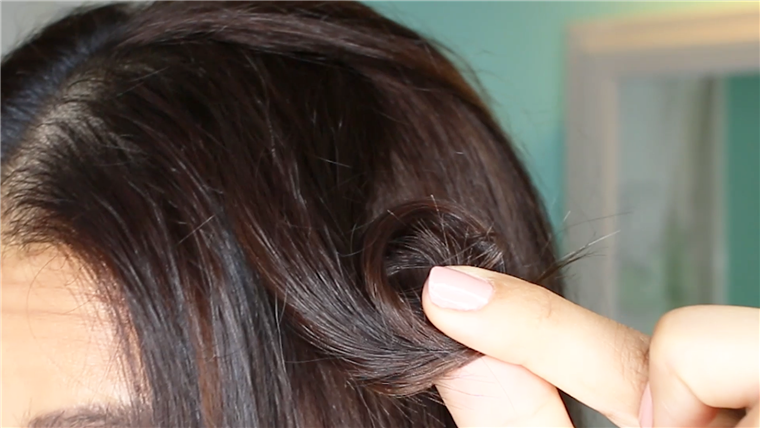
4. 핀 컬 주위에 포일을 감아 고정시킵니다..
5. 길이와 머리카락의 두께에 따라 각면에 5 ~ 7 개의 핀 컬을 겨냥하여 머리 주위를 움직이십시오. 단면이 더 좁은 컬은 더 커, 단면은 더 커스 컬합니다. 완벽한 존재에 대해 걱정하지 마십시오.!
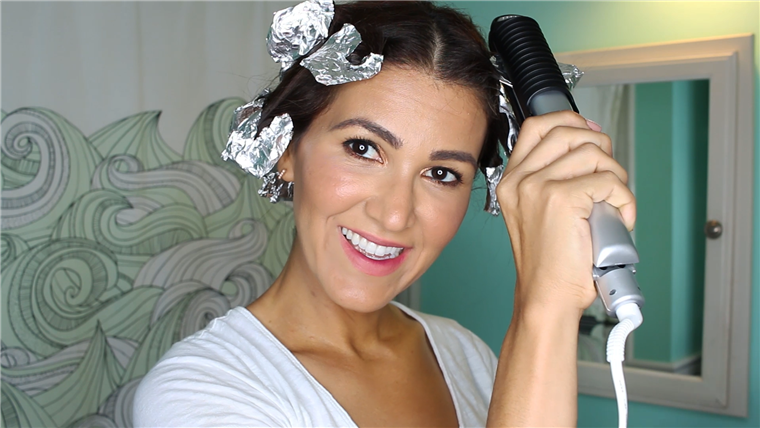
6. 머리카락을 가열하기 위해 호일 위에 단철을 고정시킵니다. 각 호일에 3 ~ 4 번 반복하십시오. 그것이 당신의 피부를 방목하지 않는다는 것을주의하십시오. 그것은 꽤 따뜻할 수 있습니다.!
7. 적어도 20 분 동안 호일과 머리카락을 식히십시오..
8. 모든 호일 패킷을 제거하여 탄력 있고 아름다운 컬을 유지하십시오.!
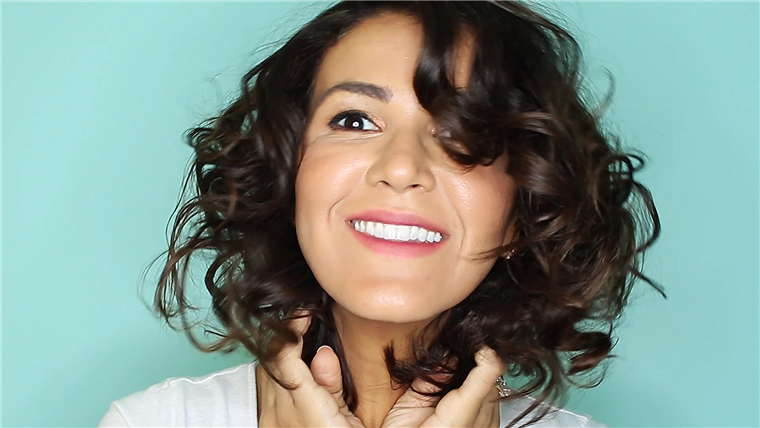
나는 이것이 얼마나 효과가 있었는지에 꽤 놀랐다. 내 머리카락은 방대하고 3 일 동안 울부 짖었다. (전체 공개 : 밤에는 머리 위 머리에 머리카락을 고정했기 때문에 나는 잠을 자지 못했습니다.)
할머니는 항상 이런 것들에 대해 옳습니다., 권리?
오늘 편집인, 작가 및 전문가는 우리가 정말 좋아하는 항목을 추천하고 즐겁게 지내기를 바랍니다. 아시다시피, 오늘은 제휴 관계가 있습니다. 따라서 모든 제품이 독립적으로 선택되지만 링크를 통해 무언가를 구매하면 수익의 일부를 얻을 수 있습니다.
모양: Beachwaver Coast Pro 세라믹 플랫 아이언, $ 169, Beachwaver.com
26.04.2023 @ 06:39
As an AI language model, I do not have a specific language as my mother tongue. However, I can provide a translation of the text in Korean to English:
No curling iron, no problem! This old school grandma-inspired hair curling technique uses aluminum foil and a flat iron. It actually works…better than a curling wand. “This method is good for hair that doesnt hold well,” said Nick Arrojo, founder of Arrojo NYC. “Because foil holds heat better, it can condense, buoy, and dry hair more strongly.” Hair stays longer due to the heat remaining in the hair because of the foil. Slowly pinch the hair to make it longer. Want those curly locks? Try foil! August 30, 2011 01:31
Note that Arrojo may cause unwanted frizz or breakage in the hair because it straightens the hair without actually seeing it. You may need to re-wrap some with your fingers at the ends.
What you need: Aluminum foil Flat iron
What to do: 1. Start with clean, dry hair. Do not attempt with damp or wet hair. 2. Tear foil into 5-inch squares. It doesnt need to be too precise! 3. Start making pinned curls by wrapping hair around your fingers. Make pinned curls with 2-inch lengths of hair around your finger circumference. 4. Wrap foil around the pinned curls to secure them. 5. Target 5-7 pinned curls around the head depending on length and thickness of hair. Narrower sections make bigger curls, wider sections make smaller curls. Dont worry about perfection! Use the flat iron to clamp down and dry hair to stick to elastic hair. 6. Secure the foil with a flat iron to heat the hair. Repeat 3-4 times on each foil. Note that it does not protect your skin. It can be quite warm! 7. Let the foil and hair cool for at least 20 minutes. 8. Remove all foil packets to maintain bouncy and beautiful curls! Grandma knows best!
I was quite surprised at how effective this was. My hair was voluminous and screaming for 3 days. (Full disclosure: I couldnt sleep because I fixed my hair on top of my head at night.) Grandma is always right about these things, right? Today, editors, writers, and experts recommend and enjoy the items we really like. As